Composting provides free fertiliser to condition and enrich soil for a better garden. Compost will replenish nutrients, improve drainage and water retention, and protect plant roots when used as mulch. You can skip on synthetic fertilisers and soil enhancers, which cost money and may hurt the environment.
Composting
Composting is quite easy, and it has many benefits for the environment and your own backyard. Compost is your ‘homegrown’ free fertiliser allowing you to condition and enrich your soil for a better garden. Composting will replenish nutrients, improve drainage and water retention, and protect plant roots when used as mulch. You can skip on synthetic fertilisers and soil enhancers, which cost money and may hurt the environment.
Food and lawn waste makes up 25% of all waste in landfills. Although these natural materials are biodegradable, they do not break down properly in landfills, which are so deep and dense that air isn’t available. These conditions make it unlikely that natural materials to break down properly.
When oxygen is not available during the decomposition process, the organic matter will decompose anaerobically and emit methane gas which is 20 times more potent as a greenhouse gas than carbon dioxide. Each ton of organic matter diverted from a landfill can save 1/3 of a ton of greenhouse gases from being emitted into the environment.
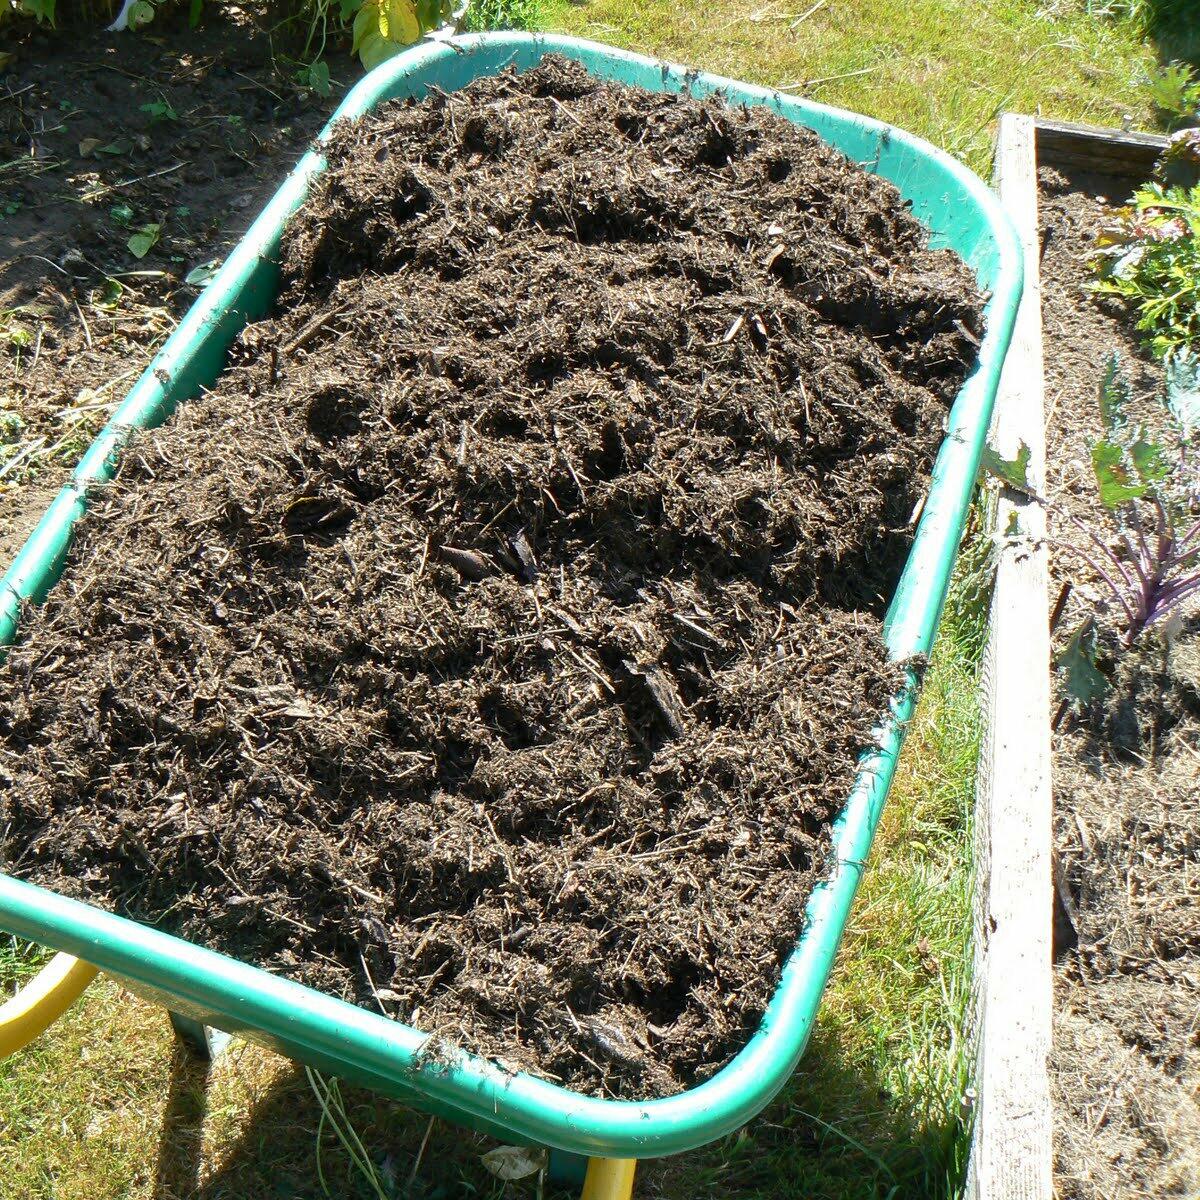
Setting up your composting ‘system’
There are many types of containers for composting, but you don’t need a container to compost. Containers can help speed the decomposition process (by controlling temperature and moisture) and keep your compost scraps out of sight. The needs of an urban gardener vary greatly from that of the country dweller, so consider the size and needs of your garden before starting to compost. All compost heaps, contained or not, should be approximately 1m x 1m to be effective.
Compost Heap
Choose an area in your yard or garden and start layering your organic materials in a pile. This requires no financial investment on your part, but some councils prohibit open composting because it can be unsightly and might attract scavengers like rats. This can be controlled by burying your scraps under other organic matter like grass.
Compost Trench
This is an alternative to a compost heap where you bury the organic matter and scraps at least 20cm in the ground—directly in your garden beds. Let nature do its thing beneath the soil, then plant a garden over it. This should be done at least two months before you wish to use the particular area as a fruit, vegetable or flower garden.
DIY rubbish bin
One of the easiest and most affordable bins is an inexpensive rubbish bin that you make into a compost bin. This is great for small gardens. Purchase a plastic bin with a well-fitted lid. You can use a a bin that suits your needs and the space available. Use a drill to bore 5-6 holes in the lid, the sides, and bottom of the bin to provide airflow that will be essential to breaking down the organic materials placed inside it.
DIY wire bin
A wire compost bin provides structure to an otherwise open compost pile while maximising oxygen circulation. If you are handy, you can make your own wire compost bin, which is ideal for small gardens and households that produce a small amount of food scraps and garden waste. To construct the bin, find an open spot for your compost. Place 3-4 stakes into the ground in a circular or rectangular shape. Purchase about 3 metres of 1 metre wide wire or plastic mesh. Stretch the mesh fence around the stakes and tie it in place (to each stake) with zip ties or wire.
DIY compost pallets
Pick an accessible, level site in your yard before constructing this type of structure. In essence, you are building a three-sided box secured with heavy-duty wire to a pallet on the bottom. The open top and front allows for easy aerating and turning of the pile and can provide ample compost for a medium to large garden. You could easily build additional adjacent bins that can house multiple piles of compost in various stages of completion (more info below). Alternative materials for this method include bales of hay, cinder blocks or untreated wood.
Commercial bins
Many commercially made bins are available. Compared to the DIY method above, store-bought bins can be expensive, costing up to several hundred dollars. Some commercially made bins are tumblers, which can dramatically speed up the decomposition of your organic waste. Be on the lookout for bins made of recycled plastic, which are more eco-friendly.
Worm farm
This method, known as vermicomposting, is ideal for urban gardeners or people who don’t have the outdoor space for the compost bins mentioned above. Read more about worm farms here»
Gather your gear
You will need some basic tools including gloves, garden fork, shovel, wheelbarrow and iof you are composting like a pro you could use an aerator and screens (for sifting the compost).
Start adding to your heap
Now that you have your bin and your tools, it’s time to compost! The most important thing is to add the right materials and avoid the wrong ones.
What to Compost
Grass and lawn clippings
Hay
Fruit and vegetable peels, rinds and scraps
Tea bags
Coffee grounds
Eggshells
Leaves
Straw
Garden waste
Weeds that have not seeded
Wood chips and sawdust (from untreated wood)
Dryer lint
Shredded paper
What NOT to Compost
Chemically treated wood
Diseased plants
Human waste
Pet waste
Pernicious weeds
Meat
Dairy products
Animal food products
Animal bones
Fats and oils
Cooked food
Peanut butter
Lime
Glossy paper
Paper with colored ink
Basic methods
If you want to help your compost break down faster, you can put more time and thought into it in order to achieve the ideal conditions for decomposition.
Compost, while easy enough, is an exercise in balance. To best “balance” your compost pile, include 1 part nitrogen-rich “greens” for every 15-30 parts of a carbon-rich “browns” in your compost heap.
“Browns” (carbon-rich materials) include: Fresh leaves, coffee grounds, newspaper strips, peanut shells, sawdust, straw, fruit scraps, bark, pine needles, tea bags, dryer lint, eggshells
“Greens” (nitrogen-rich materials) include: Food waste, vegetable peels, hay, grass clippings, garden waste, alfalfa, oats
The first step is to build a foundation with a 10cm layer of bulky twigs and small branches. This allows for air to flow upward through it and also keep it off the ground. Water this layer liberally before doing alternating 2 inch layers of greens and browns, watering every so often. Do this until your heap is 1-1.5m tall, making sure that no layer is packed too firmly. Some air must be able to reach the inner parts of the pile. You can sprinkle the top of the heap with a few handfuls of soil from your garden which speeds up the composting process by introducing millions of bacteria.
The pile will generate heat as it decomposes. You might even see steam escaping on cold days.
Now you wait
If you do nothing from this point, you will probably have finished compost in approximately one year. Most people try to nudge Mother Nature into a speedier delivery on their black gold though by keeping a healthy amount of moisture (water) and air flowing within the pile. As the heat increases in the pile, moisture is lost, so it is important to regularly water your compost to keep it damp, not dripping wet. Using an aerator or pitchfork to turn your pile, anywhere from once a week to a couple times per month, will help reintroduce oxygen. The more often you turn, the quicker it will break down. Weekly aerating and watering should produce a finished compost heap in several months.
Compost shouldn’t look or smell gross. When done properly it should not attract animals (although the ones that make it into your backyard may help themselves to the food scraps on occasion). If you notice a foul rotten egg smell, you’ve put something from the “do NOT compost” list into your pile, it’s not receiving enough oxygen or it’s getting too wet. To correct this, work in some dry “browns” such as straw, peanut shells, or sawdust. If your pile smells like ammonia, you have added too many nitrogen-rich “green” materials, so work in more browns.
Finished compost smells earthy, even sweet, is moist like a wrung-out sponge, and is dark like coffee grounds. Work at least 2-4 inches of this material into your garden, use as needed in potted plants, or spread around trees and garden beds as mulch. It is among the best substances nature can provide to a gardener!
Composting takes patience, but the reward is absolutely worth it!